Guides / Design
Fixturing a 5-Axis Prototype: Dovetails, Pull Studs and Soft Jaws
October 13, 2026
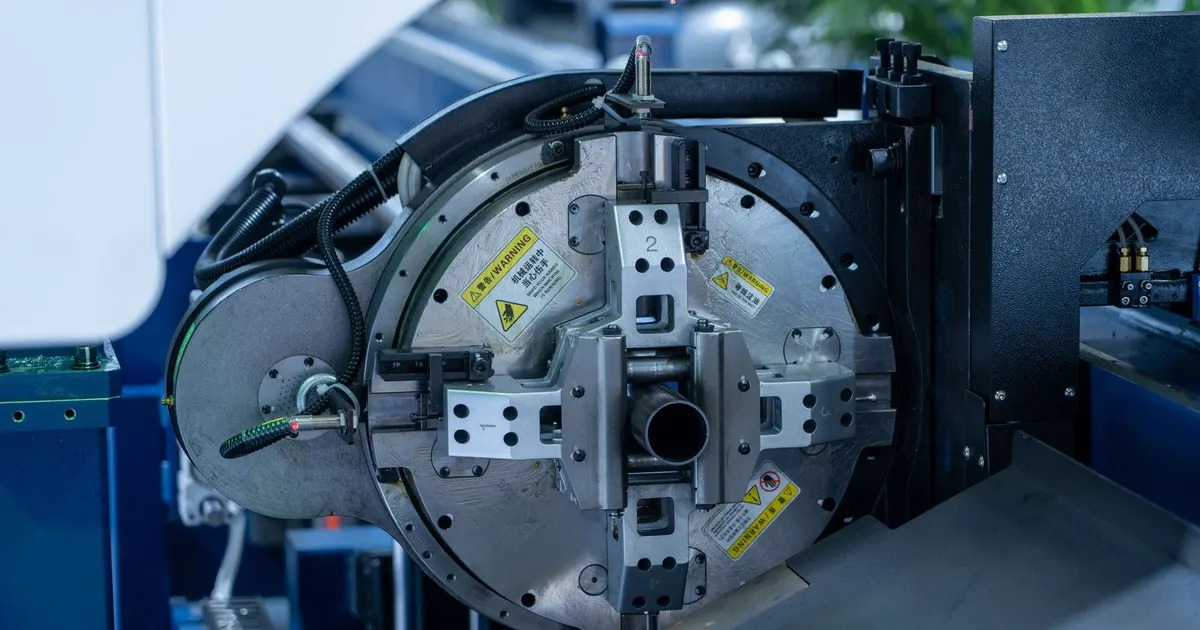
A 5-axis machine can reach almost every face of a part, but only if something holds the part away from the table. That something is the fixture. On a prototype it is also a cost line, because a part held badly moves, and a part held with a custom fixture adds days to the schedule.
This guide covers the holding methods shops use on 1 to 200 piece 5-axis jobs, what each leaves behind and how to draw the part so the grip does not fight the geometry. It builds on done-in-one machining, where one clamping reaches five faces.
The goal of a prototype fixture
A good fixture does four things:
- Locates the part so every offset in the program matches the real position.
- Holds it firmly enough to resist the cutting force.
- Keeps the clamp, the vise and the fixture body clear of the tool path and holder at every tilt.
- Takes minutes to set up, not days.
Shops reach point four by using standard holding systems and by adding a clamp feature to the stock, rather than designing around the finished part.
The common methods
Vise with soft jaws. The vise holds a block of stock by its sides. Soft jaws are aluminum or steel blocks the shop machines to fit the part, which grips it without marring and without slipping. This is the workhorse for blocks, brackets and housings. The vise sits low on the table, so the shop leaves enough stock above the jaws for the tool to reach the sides.
Dovetail clamping. The shop machines a dovetail on one end of the stock, usually a few millimetres tall, and the vise or a clamp bites into it. The grip is firm and the tool can reach nearly the whole part. The dovetail is later removed, and the base is faced or cut off.
Pull stud and zero-point system. The shop threads a stud into the base of the stock. A zero-point plate on the table grips the stud, locates the part repeatably and releases it quickly. Parts can be removed and put back on the same position, which helps when you order a second batch or a revision. The stud leaves a threaded hole in the base that is either part of the removed stock or filled by a design feature.
Stub and part-off. The part is carved from a stock that keeps a stub of material on one end. The stub is clamped. After cutting, the part is separated from the stub. The scar is cleaned in a second operation or by hand.
Tabs. Thin bridges hold the part to a surrounding plate. After cutting, the shop breaks or cuts the tabs and removes the marks. Tabs suit thin parts such as sheet-like plates and covers.
Vacuum or adhesive holding. For thin plates and soft materials, vacuum plates or a low-strength adhesive hold the part without clamp pressure. These are slower to set up and less common on a first prototype.
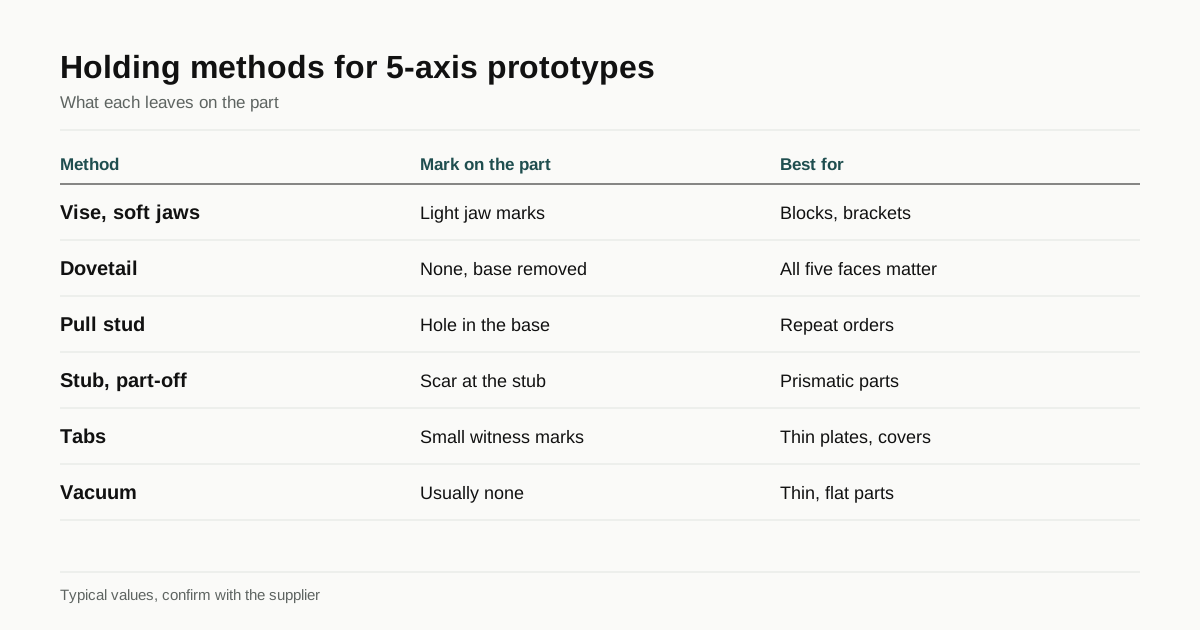
What each method leaves on your part
| Method | Typical grip area on stock | Mark on finished part | Best for |
|---|---|---|---|
| Vise with soft jaws | A few mm to several mm bite on two sides | Light jaw marks, often on a face you do not need | Blocks, brackets, housings |
| Dovetail | Tab cut into one end | None if the base is removed | Parts where all five faces matter |
| Pull stud | Threaded hole in the base | A hole or removed base | Repeat orders, revisions |
| Stub and part-off | One end of the stock | A scar at the stub | Prismatic prototypes |
| Tabs | Thin bridges around the outline | Small witness marks at each tab | Thin plates and covers |
| Vacuum | The full back face | Usually none | Thin, flat parts |
Treat the values as orientation. Shops choose by part shape and by what they have on the machine.
Designing the part for the grip
You can lower the cost and risk of fixturing with small decisions on the drawing. These are the ones shops notice:
- Show the datum. Name one face as the primary datum and give the others relative to it. The shop often clamps on the opposite side.
- Mark the clean faces. If a face must stay unmarked, say so. A note such as “no clamp marks on face A” is enough.
- Accept a witness mark somewhere. Even a small tab area on a face you do not use makes the setup simpler.
- Add stock where the part is awkward. A part with no flat area can be drawn with a sacrificial boss that is cut off later. Put this in the STEP file or a note.
- Avoid thin cantilevers on the far side. The end of a thin arm vibrates when the tool pushes it. Tell the shop which features are thin, and they will plan roughing and finishing separately.
Designing parts for 5-axis machining covers more of the drawing choices that help the tool reach and the grip hold.
Clearance and collision
Fixturing is also a clearance problem. As the part tilts, the vise body, the jaws or the zero-point plate can approach the spindle nose or tool holder. Shops plan for this with these habits:
- Use a tall enough stock block so the tool holder clears the vise at the extreme tilt.
- Use shorter tools where the reach allows, since a long tool needs more clearance.
- Simulate the whole fixture model in CAM, not only the part.
- On the first cut of a new program, run the move slowly or with a dry pass.
A part that fits in the machine’s travel limits on paper may still fail on tilt if the fixture is large. That is why a drawing of the stock block, the clamp and the finished part together saves the shop time on a first quote.
How the method affects revisions
If you expect more than one revision, ask the shop about repeatable holding. A pull stud or a fixture plate that locates the stock in the same position every time lets the shop reuse the program with small edits. A new vise setup for each revision costs more and brings more variation. A short note in the RFQ such as “expect Rev B in two to three weeks” helps the shop pick a method that carries over. See low volume 5-axis machining for how fixture choices change between prototype and bridge batches.
Checklist before you send the RFQ
- Name the primary datum and the faces that mate or seal.
- Mark faces that must stay free of clamp marks.
- Accept a scar or tab mark on one non-critical face.
- Provide a STEP file so the shop can model the stock and the clamp.
- Say whether revisions are likely so the shop can pick a repeatable method.
When you are ready, send the drawing through the RFQ page. We match it with up to three 5-axis shops, you get a reply within 24 business hours and the quotes come to you directly.
Frequently asked questions
Who designs the fixture for a prototype?
Usually the shop, and usually from standard parts. A prototype rarely justifies a custom fixture, so the shop uses a vise, soft jaws, a dovetail or a pull stud, and cuts what it needs from the stock.
Will clamping leave marks on my part?
It can. Soft jaws and stubs leave marks on or near the clamped area. If a face must be clean, say so in the RFQ and the shop will plan to cut that face last or clamp elsewhere.
How much extra stock does clamping need?
Typically a few millimetres to a few centimetres depending on the method. A dovetail or pull stud is cut into stock that is later removed. A vise needs a bite of several millimetres to hold safely.
Need this prototype quoted?
Send the drawing. We match you with up to 3 5-axis shops and reply within 24 business hours.
Get matched with a 5-axis shop